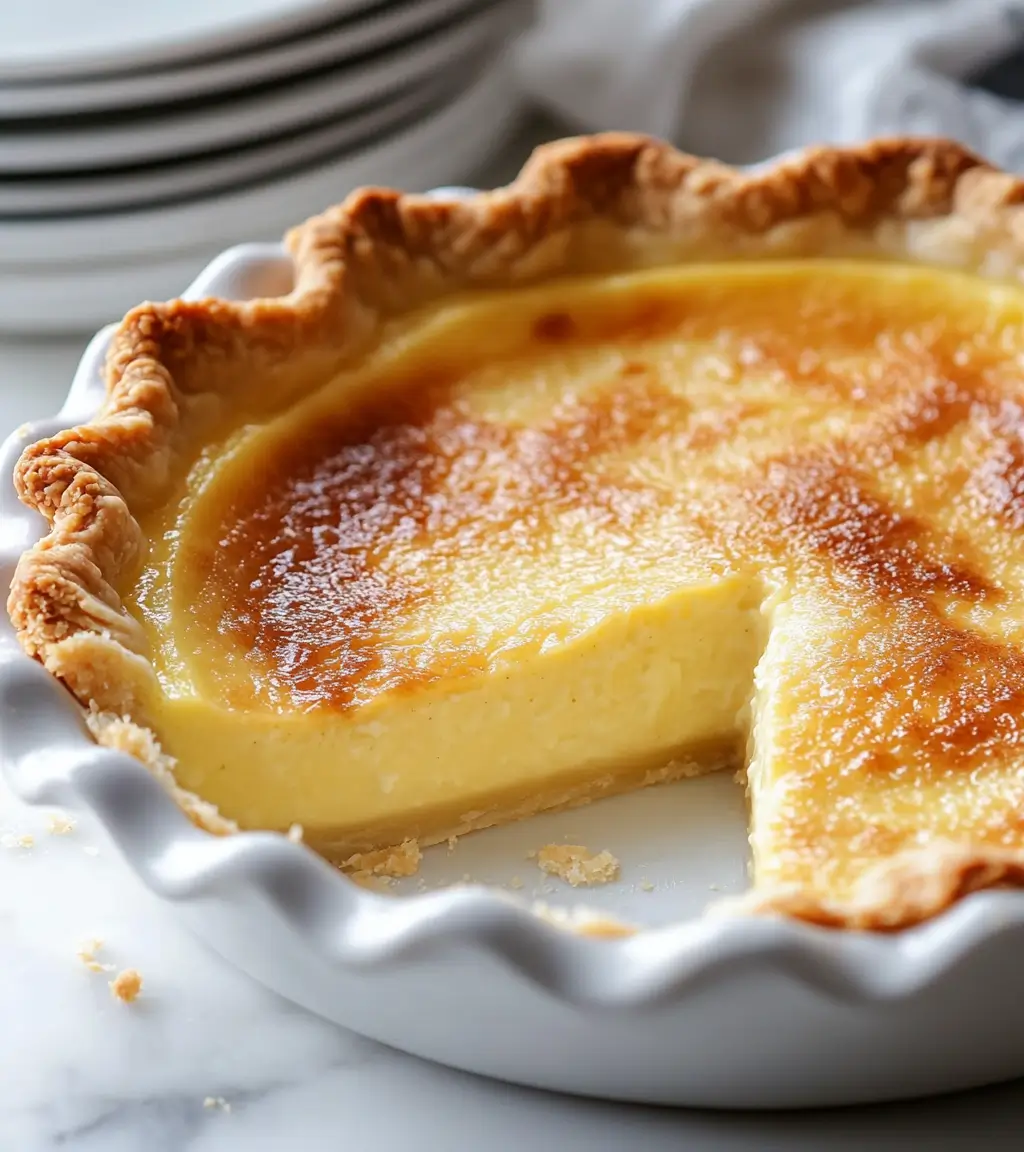
Welcome your guests with a touch of nostalgia by serving the timeless Buttermilk Pie. This delightful dessert features a creamy, custard-like filling nestled in a buttery, flaky crust, making it a crowd-pleaser for any gathering or a comforting family treat.
Its simplicity, paired with its rich flavor, guarantees it will be a favorite on any occasion. Here’s how you can create this delicious classic:
Old-Fashioned Buttermilk Pie Recipe: This Old-Fashioned Buttermilk Pie isn’t just a dessert—it’s a warm, welcoming gesture that delivers sweetness and comfort. Whether served warm or chilled, each bite reminds us of life’s simple joys. Enjoy the process of baking and sharing this lovely pie!
Why You’ll Love This Recipe
This Old-Fashioned Buttermilk Pie is a quintessential Southern dessert that deserves a spot in your recipe collection! With its velvety texture, subtle tang, and golden-brown crust, it’s truly irresistible. The simplicity of this recipe is remarkable – using basic pantry staples, you can create this delightful pie in no time. Perfect for impromptu entertaining, community gatherings, or when you need a soul-warming dessert.
Pro Tips
- Ensure crust crispiness: Apply a thin coating of whisked egg white on the crust before adding the filling. This creates a protective seal.
- Perfect timing: The pie should wobble slightly in the middle when it’s ready, much like a cheesecake. It will set completely during cooling.
- Boost the taste: Include a teaspoon of fresh lemon zest to add a refreshing citrus note against the creamy filling.
- Silky consistency: Pass the filling mixture through a fine strainer to eliminate any egg lumps before pouring into the pie shell.
Old Fashioned Buttermilk Pie Recipe
- Prep Time: 10 minutes
- Cook Time: 45-50 minutes
- Cooling Time: 2 hours
- Servings: 8
Equipment Needed
- 9-inch deep-dish pie plate
- Mixing bowls
- Whisk
- Measuring cups and spoons
- Oven
Ingredients:
- 1 single pie crust
- 1 1/4 cups granulated sugar
- 2 tablespoons flour
- 3 eggs
- 1/2 cup melted butter
- 1 cup buttermilk
- 2 teaspoons vanilla extract
- Pinch of salt
Instructions:
Step 1: Prepare the Pie Crust: Line a deep 9-inch pie plate with your pie crust, shaping the edges as desired.
Step 2: Mix Dry Ingredients: In a large bowl, whisk together the sugar and flour.
Step 3: Add Eggs: Beat the eggs into the sugar-flour mixture until well combined.
Step 4: Combine Wet Ingredients: Stir in the melted butter, buttermilk, vanilla extract, and a pinch of salt. Whisk until smooth.
Step 5: Fill the Pie Crust: Pour the buttermilk filling into the unbaked pie crust.
Step 6: Bake: Preheat your oven to 350°F (175°C). Bake the pie for 45-50 minutes until the center is set and the top is lightly golden.
Step 7: Cool and Serve: Let the pie cool at room temperature for at least 2 hours. For a refreshing variation, chill the pie in the refrigerator and serve cold.
Additional Tips:
Lemon Twist: Add 1 tablespoon of lemon zest and 1 tablespoon of lemon juice to the filling for a bright, citrusy flavor.
Serving Suggestion: This pie tastes wonderfully when served cold. After cooling, cover it with plastic wrap and refrigerate until ready to enjoy.
Make Ahead: Prepare this pie 1-2 days in advance for easy, stress-free hosting.
Storage
- Keeping leftovers: Store the pie covered in the refrigerator for up to 4 days. Serve chilled or at room temperature.
- Long-term storage: Double-wrap the cooled pie in plastic wrap and foil. Store in freezer for up to 2 months. Defrost overnight in the fridge.
Recipe Variations to Try
- Coconut Version: Add 1/2 cup coconut flakes for an island-inspired flavor.
- Warm Spice Version: Include 1/2 teaspoon each of cinnamon and nutmeg for a cozy twist.
- Chocolate Version: Incorporate 1/4 cup cocoa powder for a decadent chocolate variation.
- Citrus Version: Replace vanilla with lemon extract and add citrus zest for extra tanginess.
Old-Fashioned Buttermilk Pie represents the perfect blend of simplicity and indulgence in Southern baking. This classic dessert delivers both homestyle comfort and refined taste in every forkful. Whether you enjoy it warm or cold, this pie never fails to delight. Experience this beloved Southern tradition for yourself!
Print
Old Fashioned Buttermilk Pie
- Total Time: 50 minutes
- Yield: 8 servings 1x
Ingredients
- Single pie crust
- 1 1/4 cups granulated sugar
- 2 tablespoons flour
- 3 eggs
- 1/2 cup melted butter
- 1 cup buttermilk
- 2 teaspoons vanilla extract
- Pinch of salt
Instructions
- Prepare the Pie Crust: Place the pie crust in a deep 9-inch pie plate, shaping the edges as you like.
- Mix Dry Ingredients: In a large bowl, whisk together the sugar and flour.
- Add Eggs: Crack the eggs into the bowl and whisk until they’re fully blended with the sugar-flour mixture.
- Combine Wet Ingredients: Add the melted butter, buttermilk, vanilla extract, and a pinch of salt. Whisk until smooth.
- Fill the Pie Crust: Pour the buttermilk mixture into the unbaked pie crust.
- Bake: Preheat your oven to 350°F (175°C) and bake the pie for 45 to 50 minutes, until the center is set and the top is lightly golden.
- Cool and Serve: Let the pie cool for at least 2 hours at room temperature. For a refreshing touch, refrigerate it after cooling and serve chilled.
Notes
- Sweetness: The 1 1/4 cup of sugar might be a bit sweet for some. Feel free to adjust it to your taste!
- Crust edges: Heads up! The crust edges might brown too quickly during the long bake. You can try covering them with foil after about 30 minutes.
- Oven temp: Just a friendly reminder to make sure your oven temperature is accurate for the best results!
- Prep Time: 10 minutes
- Cooling Time: 2 hours